
Shibori Overview
- For this project I decided to dabble in “Shibori.”
- Shibori is resist dyeing where you cover up part of the fibre and the covered part will remain undyed (resist dye). Tie-dyeing is a form of Shibori. Shibori started in China dating back to seventh century where it has been found in Japan, Eastern Europe, and Indonesia.
Shibori Practice Directions Sample #1
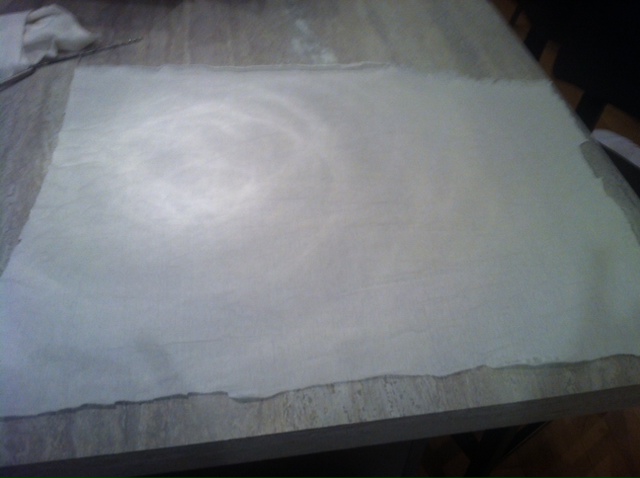
Step 1
Lay fabric flat and iron. You should consider a natural fibre for this project as this will produce best results when using Rit dye. Here, I have used a fabric swatch made from 100% cotton. Even though the label reads cotton, I conducted the burn test to reaffirm. The fabric swatch is a piece from an older t-shirt as I thought it was important to do a little experimenting practice before I start dyeing my wardrobe.

Step 2
Fold fabric in accordion style (back and forth).
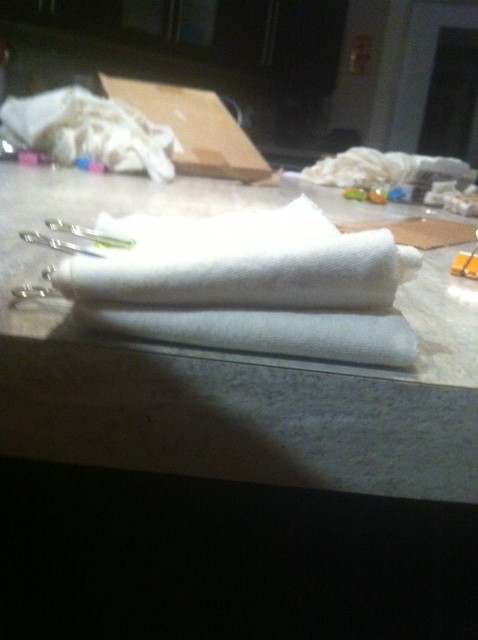
Step 3
Now, fold in the other direction (lengthway) in accordion fashion.

Step 4
Begin clamping edges with binder clips.
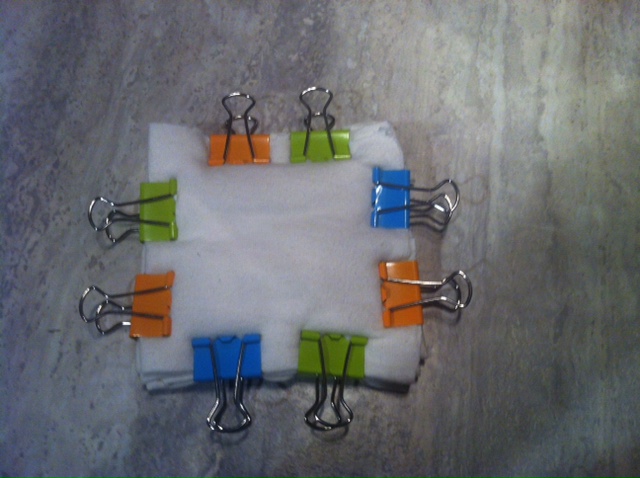
Step 4 Continued
You can use as many as you like.

Rit Dye

Step 5
Pour package of dye into plastic container.
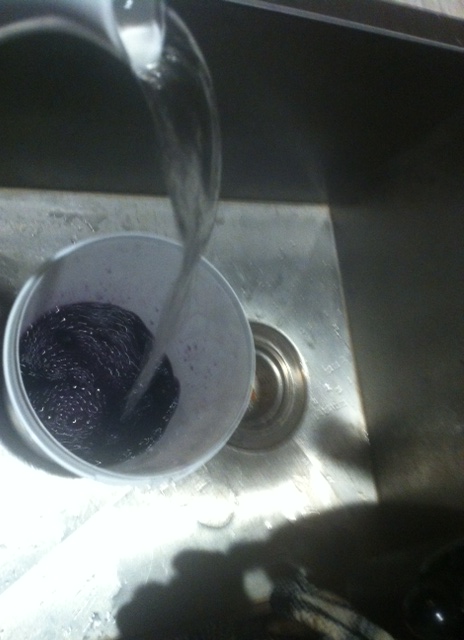
Step 6
Add hot water

Salt
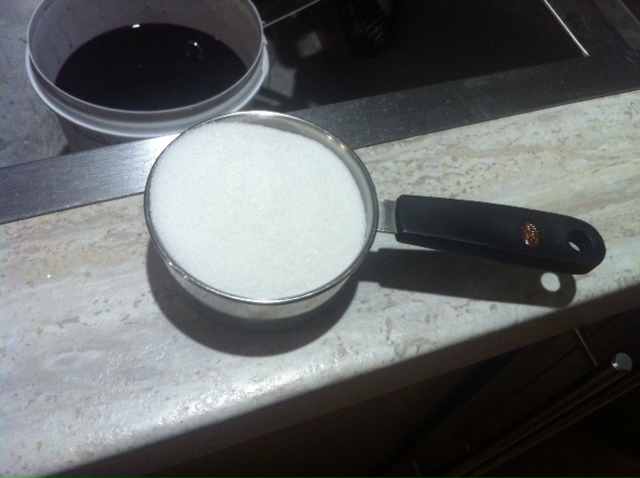
Step 7
Add one cup of salt to the dye bath if you are using natural fibres such as cotton.

Step 7 Continued
Stir the dye bath.

Step 8
Place fabric in the dye bath, ensure it is completely submerged and time for 30 minutes. Stirring occasionally. After thirty minutes, remove fabric and rinse under warm then gradually cool water until the dye stops running. Wash in warm water with mild detergent then air dry or use dryer.
Results

Shibori Results (Binder Clips)

Shibori Results (Binder Clips #2)

Shibori Results (Binder Clips Close-up)
Shibori Practice Directions Sample #2
- Itajime shibori is a shape-resist technique (http://en.wikipedia.org/wiki/Shibori#Kumo_shibori).
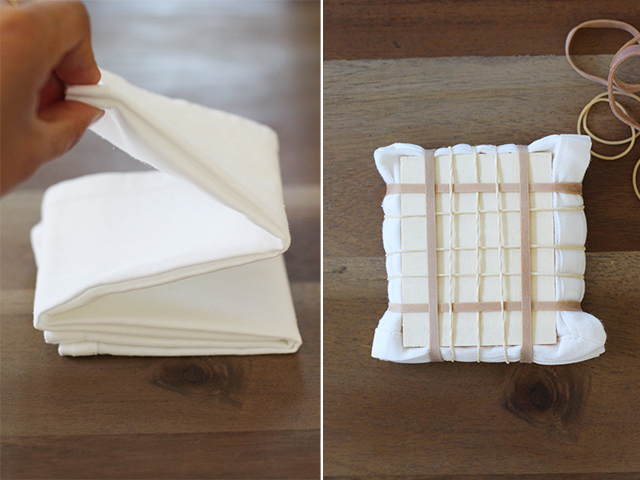
Steps 1, 2 and 3
Fold fabric in accordion style lengthwise and the other way. Then place a cut- out square made from cardboard on the front and back of the folded fabric and bind with rubber bands. This actual picture I had to find on the internet as I accidentally deleted the picture of my demonstration of this step. (The image was taken from http://honestlywtf.com/diy/shibori-diy). Next, please follow directions from Sample 1 demonstration steps 5 -8.
Results

Shibori Results (Sqaure and Elastics)
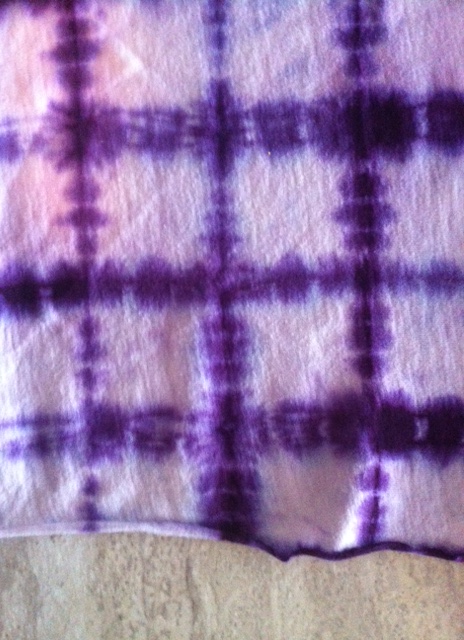
Shibori Results (Square and Elastics Close Up #1)

Shibori Results (Square and Elastics Close Up #2)
Shibori Practice Directions Sample #3
- Kumo shibori is a pleated and bound resist (http://en.wikipedia.org/wiki/Shibori#Kumo_shibori).

Step 1
Fold accordion style.

Step 2
Pinch and bind into equal sections.

Step 3
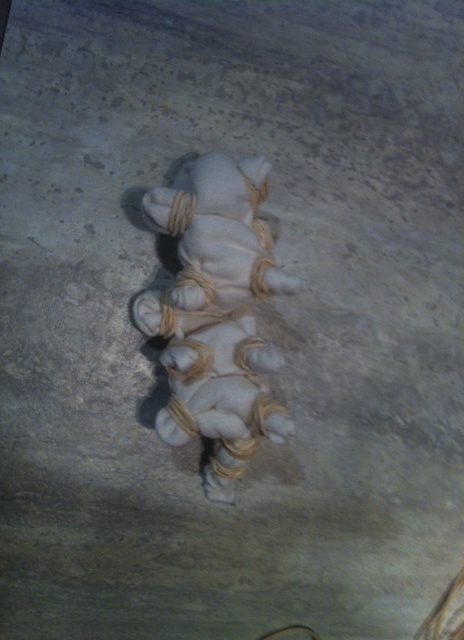
Step 3 Continued

Step 3 Continued
Continue binding with elastics as many times as you can. Next, please follow directions from Sample 1 demonstration steps 5 -8.
Results

Shibori Results (Elastic Binding)

Shibori Results (Elastic Binding)
Overall Results

Shibori Results
The dyeing assignment was a project I looked forward to delving into and I was quite pleased with the results. Resist dyeing is exciting yet trepidatious as the results are somewhat of a surprise until the great unveiling where you get to unravel and open your gift. I am feeling more confident that I can try such techniques on “real” clothes and my sister already put in the first order for a binder clip tank top.
Sources for Useful Instruction on Dyeing
An Introduction to Textile Terms (https://moodle.fp.tul.cz/pluginfile.php/142345/mod_page/content/10/TextileTerms-1.pdf)
World Shibori Network (http://shibori.org/traditions/techniques)
“Burda Style Dyeing Fabric: Shibori Techniques” (http://www.burdastyle.com/techniques/dyeing-fabric-shibori-techniques)
Shibori Techniques (http://www.cabrillo.edu/~vmay/Art21_shibori-techniques.pdf)
Color Theory Through Shibori by Heather M. Herche (http://heatherherche.weebly.com)
The Rit Studio: How to Dye Using the Shibori Pole- Wrapping Technique (https://www.ritstudio.com/techniques/creative-techniques/shibori-pole-wrapping)
“DIY Shibori” Honestly WTF (http://honestlywtf.com/diy/shibori-diy)

This is way cool! The end result is impressive Jodi and I believe you can use this in several applications – blankets, sheets, slipcovers, and even window coverings. Let your imagination run wild …
Yes, these are nice ideas for application. You’re right, the possibilities are endless. Students would enjoy exploring and experimenting the various options.
Your results are beautiful! I love how the outer squares are darker, inner-lighter. Your blog is really easy to follow and would be a great tool if doing this with students.
I enjoyed reading your history piece on the dyeing technique. I think your results were amazing, I especially like the first one, with the binder clips.
“WOW!”, she exclaimed when she say this blog posting. What an outstanding project I am so glad you decided to explore shibori for it is a whole lot of fun! You might enjoy the pole wrap technique…check a construction site garbage pile or plumbing supply store for PVC piping. It is just the thing…wind string to tie your fabric onto the PVC pipe…scrunch it down to the bottom of the pipe, dye and, as you say, ‘unravel your gift’ to see what you have created! Such fun to think of all the things one can use as a dye resist.
Jodi I really enjoyed your blog. Your dye project was beautiful and far more creative and successful than mine. I also love this discharge project. You used some very neat techniques and I would love to be able to use this someday if I ever get to teach FST. I love the PVC pipe idea. I’ve always loved surprises and I think it prepares kids for happy accidents!